Tag Archives: APM
F2S Autopilot GPS OSD RSSI All-In-One Flight Controller
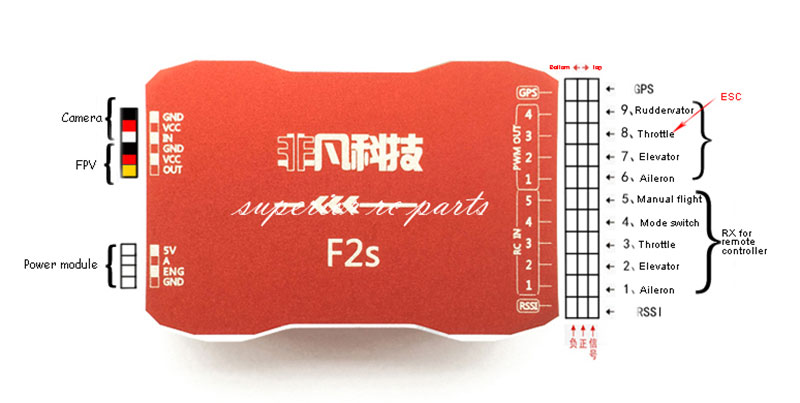
Amazing F2S all-in-1 flight controller, I think this is worth sharing. The F2S coverts your fixed wing planes into a drone with GPS return home. In addition, it adds all the telemetry information on your screen. Best of all, no tuning needed.
We configure the F2S on an Eachine Mini Skyhunter Racer for this episode with a Mobius Mini. It does a nice turn on Return Home and circles in a 8 formation upon returning and begins to climb that 328 ft (100 m) preset. I have been flying this plane without Gyro, so at Manual mode, I still retain the full experience and know I can bail out at any time. The Mini Skyhunter is a fast plane, I noticed the Heading Mode seem to zigzag-drift occasionally, other than that, the rest is good so far. I get the most 11 GPS satellites so far. Here is a video of everything you need to get setup.
 Configurations: You can get to the setups menus, by holding down the Aileron stick to the right for 3 seconds and the menus will pop up. Please note that if you have any weight (trims) adjusted to the ailerons inputs, you may not be able to reach the menus. If you flying a 3 or 4 channel airplane, make sure you set the type to plane icon on the F2S, if needed connect your Rudder directly to your receiver. You can connect Ailerons by using a Y connector on to the PWM Out #6.
If you are flying a Delta Wing, connect one Aileron to PWM Out1 and the other Aileron to PWM Out #7, set the type to Delta Wing icon. The F2S will configure them as Elevons.
Pros – can be installed and tested under an hour, multiple flight modes and comprehensive OSD
Limitations or maybe good – little customization or tuning available or needed. Setup by radio, no computer required…
Understanding propellers directions on multicopters

If you find your multi-copter flipping on take-off or just don’t seem to take off, the first thing to check is your propellers or motors. If your propellers are spinning on the wrong direction, the thrust might just be pushing your copter down instead of lifting it up. If you have the propellers in the same orientation next to each other, it may just topple your copter. Propeller are usually marked with the spin direction and they should match the diagram illustrated below…
Remzibi Poor Man’s OSD for FPV
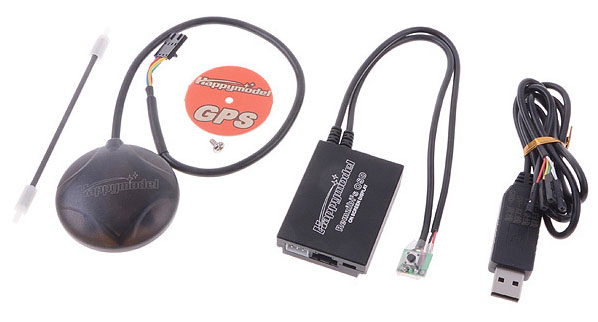
Synopsis: Remzibi OSD is a very versatile OSD that can be adapted on any FPV system, as it has a GPS integrated into the system! The OSD board uses the GPS module to capture information like heading, speed, altitude and lat/long coordinates. In addition, it uses an ATMEL processor to capture information like battery voltage (video and main/motor) and other functions like Variometer which shows up and down changes in altitude. The configuration software written by HappyKillmore is by far one the best one, complete with all functionality a pilot would need. For our tests, we plan to integrate Remzibi with Walkera QR x350. Even though you have to remember to click the button each time to save the home position, it is definite the easiest OSD to integrate on any FPV setup…
On Screen Display MinimOSD and MinimOSD Extra
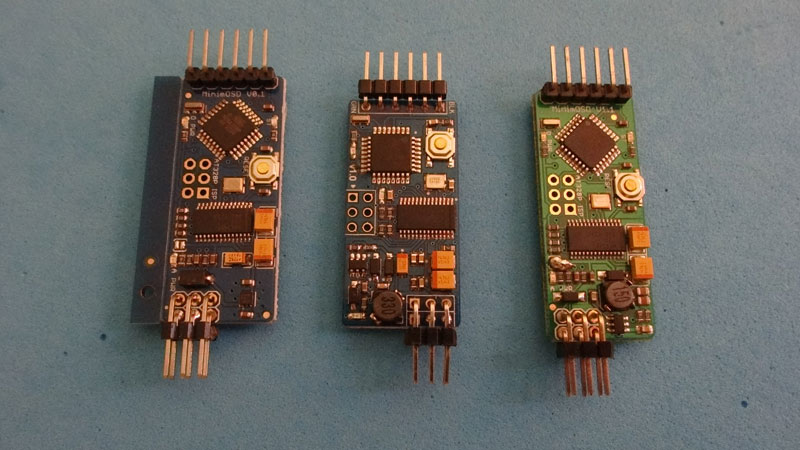
Virtual Cockpit HUD heads-up display using OSD, is any transparent display that presents data without requiring users to look away from their usual viewpoints. Displays a set of instruments to assist in flight. We use these early development board MinimOSD and MinimOSD Extra.
Battery A (VA)
This panel shows your battery voltage. To read correct values you have to set it in MP.
This panel has a warning assigned
MinimOSD-Extra can be set to warn you if voltage gets below the value you set in CT or OSD menu.
Landing Aid (small horizontal line on the right)
Ground level indicator. If you descent lower then home (like in a valley) the “-” sign would go above horizon line…
APM Arducopter Camera Gimbal Setup Mission Planner
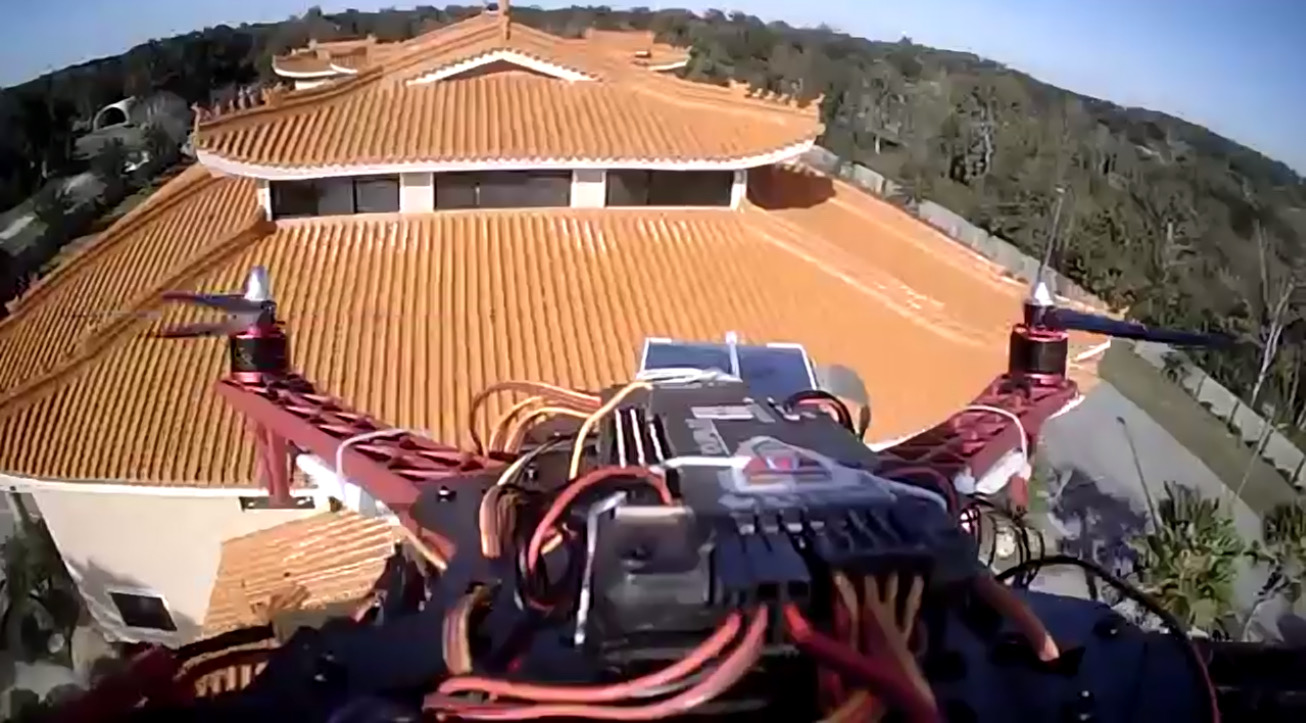
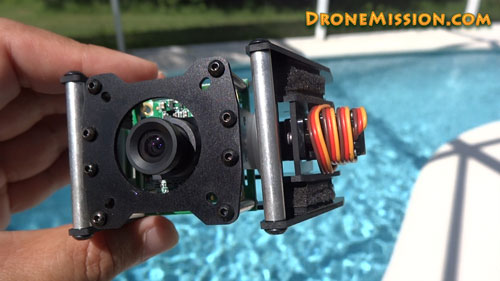
Synopsis: We have been skipping the ArduPilot Camera Gimbal page for a while, so finally we are back to revisit this feature. ArduCopter can stabilize a gimbal with up to three axis of motion using any of the free output channels. This really mades APM one of the best flight controller around.
As recommended, we did not connect the servo’s power (red) and ground (black) wires to the RC10 (A10) or (A11), as it may cause the APM to brownout when the servos move. Instead we rerouted the wires to power the servos from an external BEC from the APM’s rear power rail (Output 7) with the JP1 jumper removed. For this DJI Opto ESC, we needed a UBEC, we therefore used a 3A/5V on Output 8. Once you have your wiring done, you will use Mission Planner to setup your gimbal. If you plan to assign your Input Ch to RC6, please remember to complete a radio calibration with the dial you have assigned to RC6, if not you may see your gimbal behaving erratically.
That leads us to another favorite video putting the gimbal in action. I had fun filming at the Pirate’s Cove.


