APM Arducopter Camera Gimbal Setup Mission Planner
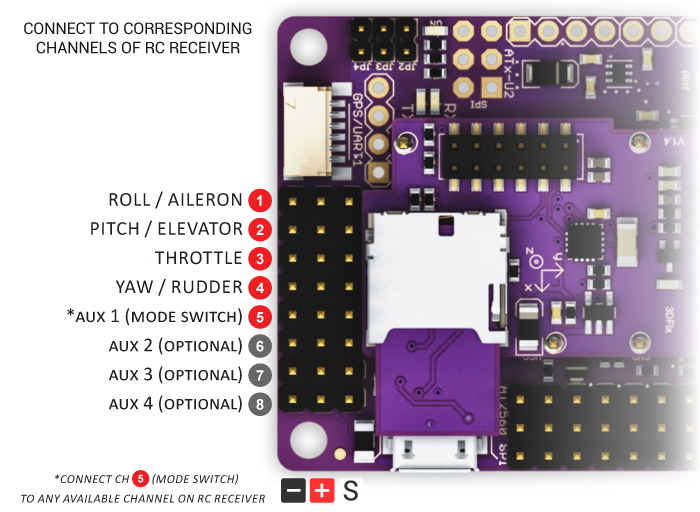
Synopsis: We have been skipping the ArduPilot Camera Gimbal page for a while, so finally we are back to revisit this feature. ArduCopter can stabilize a gimbal with up to three axis of motion using any of the free output channels. This really mades APM one of the best flight controller around.
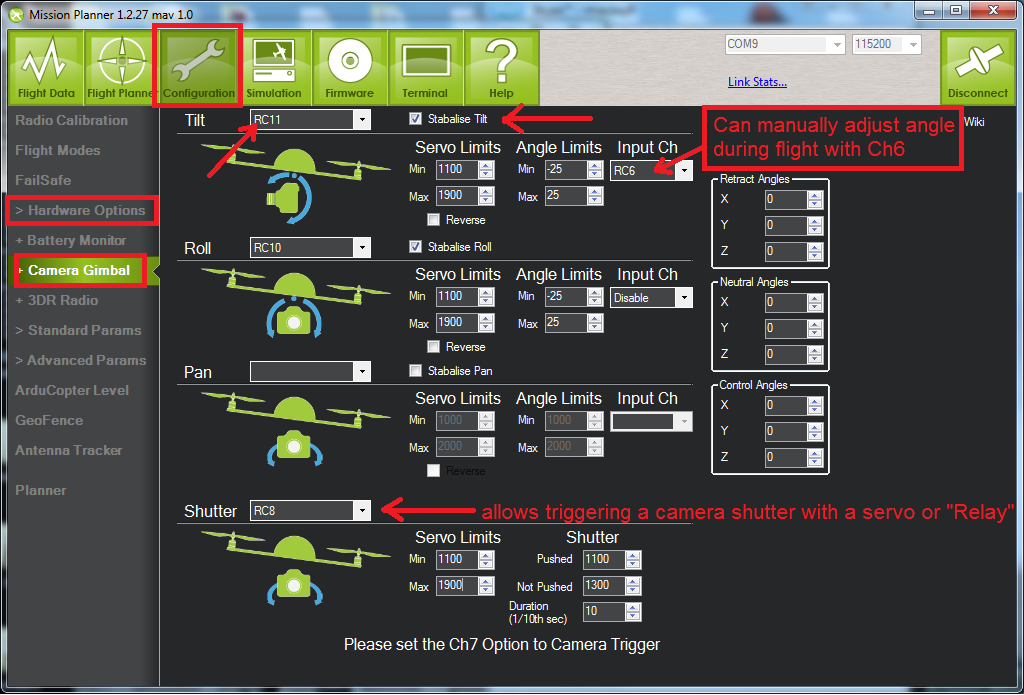
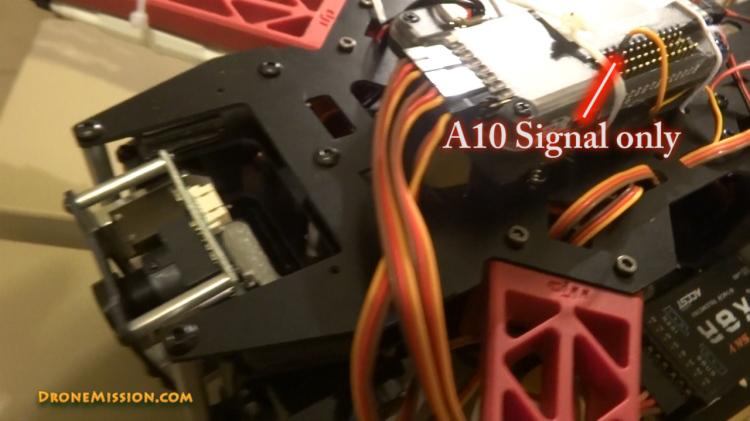
As recommended, we did not connect the servo’s power (red) and ground (black) wires to the RC10 (A10) or (A11), as it may cause the APM to brownout when the servos move. Instead we rerouted the wires to power the servos from an external BEC from the APM’s rear power rail (Output 7) with the JP1 jumper removed. For this DJI Opto ESC, we needed a UBEC, we therefore used a 3A/5V on Output 8. Once you have your wiring done, you will use Mission Planner to setup your gimbal. If you plan to assign your Input Ch to RC6, please remember to complete a radio calibration with the dial you have assigned to RC6, if not you may see your gimbal behaving erratically.
That leads us to another favorite video putting the gimbal in action. I had fun filming at the Pirate’s Cove.
We test it out on a new quad with default 3.0.1 PID, with an analog servo. A keychain camera was tied to the gimbal, with no tuning or prop balancing yet, to see how everything performs. Results were great, we could not get it to tilt 90 degrees though. Above are some images from our video log and a flight test.
 Remember to complete a radio calibration with the dial you have assigned to the open channel







Leave a Reply
You must be logged in to post a comment.